Showing posts with label Coffee. Show all posts

Saturday, December 6, 2014

Espresso Yourself - Part 2

Happy End of Cyber Week!

I hope you had a wonderful Thanksgiving, Black Friday, and weekend! Me, I'm not so much of a Black Friday shopper. Fighting crowds and waiting in lines is not exactly my thing. I'm more of a "hang out in my yoga pants and t-shirt" all weekend kinda girl. I do check out the deals online. My family loves to play board games and watch movies, so we hole up at my Mom's house and do just that all weekend.

This is a good representation of how my weekend went.


Carly dancing with my BIL


And so that you can see Carly a little better in her Thanksgiving outfit...


But I did get to sneak in some blogging time...

Which leads me to today's post! Let's talk about espresso some more!

I mean, I could talk about it all day, but you might get bored after a few hours...


Making Espresso in 5 Easy Steps

In Part 1, I shared all of the tools you need to get started to make espresso and lattes. Now to get started! 

Again, don't expect me to get too technical. I'm a newbie to espresso myself, but I've figured it out over the last year. Also, these instructions are based on my own machine and equipment. They should be pretty general if you have a semi-automatic machine, but refer to your machine's specific instructions if you have a different model.

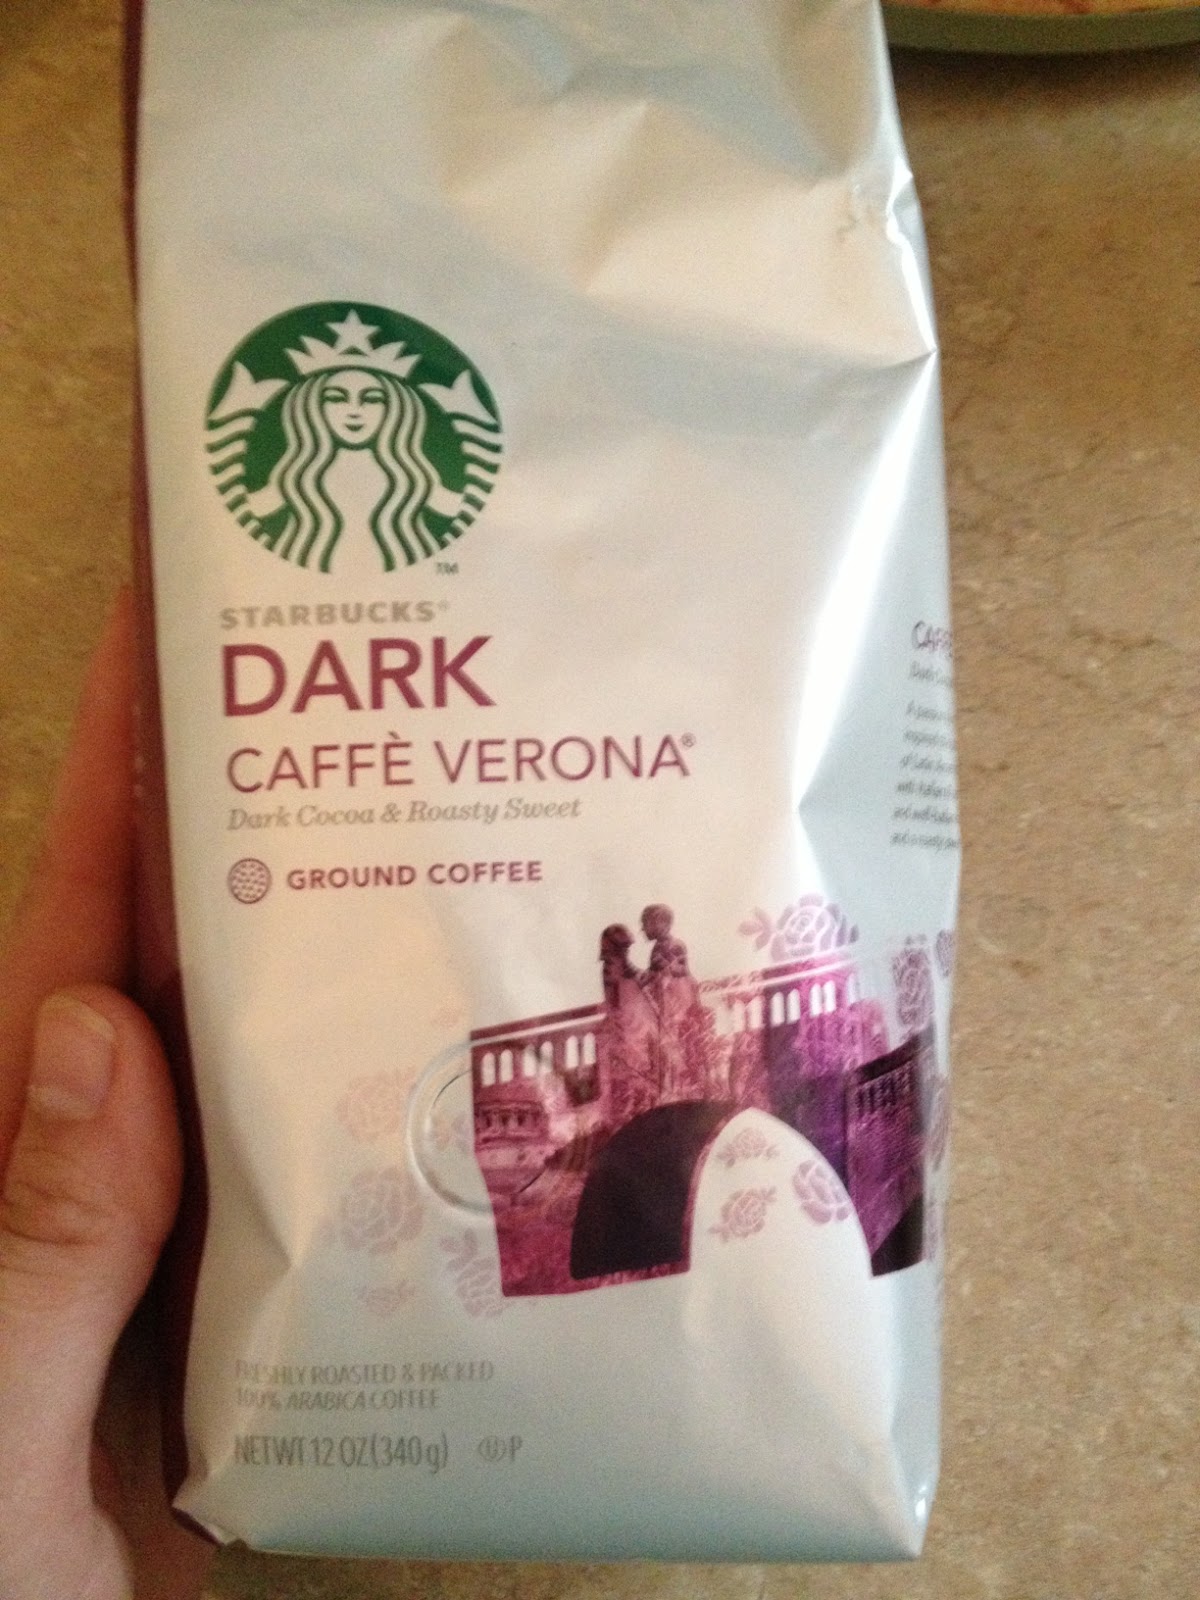
1) Start with finely ground espresso (ideally ground fresh). I shared the brands of the coffee I use, as well as the grinder I use in Part 1. It has to be ground finely so that it can slow down the water being pushed through the machine, but not so fine that the machine struggles to get the water to push through. You want the grounds to be fine enough that they're "fluffy" but not so fine that they're completely "powdery". Honestly, as all grinders and espresso machines are different, it will likely take some experimenting and trial and error to find the right fineness setting to make great espresso.


2) Scoop espresso into the portafilter. My machine (again, see part 1) came with two portafilter baskets - one that makes a single shot, and one that makes a double shot. My machine came with a scoop that scoops out the right amount of espresso for a single shot. I always use the double shot (because, why not?), so I scoop out two rounded scoops. You want the scoop to be rounded, not level, since you're going to tamp it (see next step).


3) Tamp it! Tamp it real good!

Side note - have you seen the Geico commercial with Salt'n'Peppa telling people to "Push it"? I love the guy with the lawnmower - "I'm pushing it! I'm pushing it real good!"

Okay, back to seriousness. Part of what makes espresso, well, espresso, is pushing water (Push it real good! - seriously, I can't stop myself!) through the coffee with pressure, so the grounds have to be packed tightly in there. Use a tamper to press the mountain of grounds so that they are level with the portafilter. I've read it is recommended to use a lot of force.

This is just me placing the tamper. I pressed down with both hands to tamp it.

4) Twist the portafilter into the machine, and prep the machine for brewing. It will likely take some elbow grease to get the portafilter into the machine (again, everything has to be tight to create pressure). The rest is pretty easy - make sure there's water in the machine, and turn the machine on to preheat it. My machine turns on a green light when it is preheated and ready to go.


5) Once it is preheated, you're ready to pull a shot! This is so exciting! Have your espresso cup(s) ready to go in the machine. On my machine, I flip a switch so that the machine starts running water through the portafilter. You should start to notice a very slow but steady stream of espresso coming through the portafilter. If the espresso is coming out really fast (a heavier stream), the espresso might be ground too course. If the espresso is barely dripping out and the machine is struggling, it might be ground too finely. Again, it's a trial and error process. You also have to watch the espresso as it is going. Once the cup(s) are full, flip the switch back to turn it off.


Now you have espresso! Ideally, a shot of espresso should have rich, dark, coffee with a layer of crema (fluff) on top. Getting a layer of crema is a tricky art, and I've only accomplished a thin layer. It requires the right type of coffee. the Starbucks and Trader Joe's espresso blends both produce a decent crema. I've had less luck with other coffee blends. It also requires that the coffee be finely ground - grounds too course won't result in a crema.


But what do I do with it?

I like to make two different types of drinks with espresso - cups of Americano for every day, and lattes as special treats. I'll walk you through them.

Making a Cup of Americano

An Americano is a simple concept - add hot water to a shot (or shots) of espresso to turn your espresso into an (American style) cup of coffee. I like it because I can sip it like a regular cup of coffee, but I get that bold espresso taste. All you have to do is heat a kettle of water to boiling while you make your espresso. 

1) Heat a kettle of water to boiling.
2) Make a shot (or shots) of espresso - again, I prefer a double shot (2 oz) of espresso.
3) Pour your cup or cups of espresso into a regular coffee mug.
4) Take the kettle of water off of the heat so that it's not quite boiling anymore.
5) I use the just used espresso cups to measure 4-6 oz of water (depending on how strong I want the coffee). This way, I add the residual espresso and crema left in the cup to my coffee.

Voila! You now have a cup of bold yet sippable coffee to enjoy. Add whatever you would typically add to a cup of coffee. I only use half and half (no sweetener), but you could add sweetener if you want.

On a side note, there are many variations of this - you could add a shot of espresso to regular brewed cup of coffee for a very caffeinated drink! A coworker introduced me to the "dirty chai latte" - adding a shot of espresso to a chai tea latte. It's on Starbucks' secret menu if you're so inclined to order one while you're out (request a "filthy" chai latte to add two shots of espresso if you dare!).

But now for the fun part. If you want a special treat...make a latte!!!

Turning Espresso into a Latte


Once you have your shot (or shots) of espresso, the rest is easy. 

1) Pour your espresso into a large mug.


2) I like to add flavored syrup to the espresso before adding the steamed milk. You can buy flavored coffee syrups, but you can find great recipes to make your own batches here at Annie's Eats. I have tried all of them except the raspberry syrup, and can personally vouch that they are delicious! The coconut syrup is my favorite! If you don't have a batch of syrup made up, in a pinch you can simply add 1-2 tsp of sugar, and a drop or two of an extract (vanilla, etc). Note - a little extract goes a long way, so start small and add to taste if needed.
Pumpkin Spice Syrup (recipe below)
3) Steam the milk. Start with 4-6 oz of your preferred milk. If you use cow's milk, skim or 2% will froth the best. I've tried almond milk, which froths fairly well, too. 

My machine has (as do most machines), a built-in milk steamer. After pulling the shot of espresso, I switch the machine to preheat to its milk steamer setting (a higher temperature than the espresso setting). Again, the green light will come on when it's ready. 

Pour the milk into your frothing pitcher, and place the steam wand into the milk. There are two ways to approach this. If you place the wand in the bottom of the pitcher, you'll get steamed milk (heated and lighter texture than milk, but still liquid). If you place the wand at the top of the pitcher, you'll get a lot of frothy fluff that expands quickly. I do both: I place the wand in the bottom of the milk and twist the steamer knob to turn on the steam. I keep it there until I feel the bottom of the pitcher is hot to the touch, Then I briefly bring the wand to the top of the milk to build a little fluff at the top, and turn off the steam.

Steam wand placed in the bottom of the pitcher

Steam wand placed at the top of the pitcher for "fluff"

4) Pour the milk into the mug, give it a quick stir, and enjoy your latte!

Other Tips

  • To help keep your Americano or latte hot, pre-heat the espresso cup(s) and mug by running hot water in them before using.
  • Your machine and tools provide you cups of joy every day. Return the favor and clean (hand wash) the portafilter, cups, tamper, pitcher, and steam wand attachment immediately after using. Or at least soak them in water while you enjoy your latte and go back to them later. Also, don't forget to wipe down the machine with a wet cloth. Take care of your equipment, and it will take care of you!

Pumpkin Spice Syrup Recipe


And now for the moment you've all been waiting for! As promised (I know it's December and I'm behind the ball), here is my recipe for pumpkin spice syrup. Mine is a mashup of two recipes by Real Simple and Sugar Crafter. I made a small batch since I'm the only latte drinker in my household (sad, I know). This recipe is very "pumpkiny" and more spicy. If you like a syrup that is sweeter and less "pumpkiny" and spicy, try Sugar Crafter's recipe. :)

Ingredients


1/2 cup water
1/4 cup dark brown sugar
2 tbsp granulated sugar (not pictured in the ingredients picture- I decided to add it while making my first batch)
1 tsp vanilla
1 tsp ground cinnamon
2 cinnamon sticks
1/2 tsp ginger
1/2 tsp allspice
1/4 tsp nutmeg
2 tbsp pumpkin puree

Directions

Combine all ingredients except the pumpkin puree in a small saucepan. Bring to almost boiling, whisking frequently. Just before boiling, turn temperature down to medium low and whisk in the pumpkin puree. Simmer 10-15 minutes, whisking occasionally. Remove from heat and allow to cool before transferring to bottle or container. The syrup can be stored in the refrigerator for about a month. Simply add 1-2 tbsp of syrup (to taste) when you follow the latte instructions above.


Bottle found at Target


The final product with a sprinkle of cinnamon. Yum!

Notes

  • Many recipes I've seen recommend you strain the syrup through a cheesecloth before transferring to a container. I didn't (I'm so bad!). The syrup turned out fine - I just shake the bottle before adding to my latte. If you'd prefer the syrup to be more uniform, try straining it.
  • Oil bottles make great coffee syrup dispensers to store in the fridge. You can even label them or add a label you can write on with chalk.
And there it is! Espresso part 2 is in the books! Do you make espresso? Do you have any tips or tricks of the trade?

-Amy

I was not compensated by any of the above brands for this post, nor are they affiliated with this blog. I am simply sharing my honest opinions and experiences. The views expressed in this article are solely my own.

Want more? Follow the CSRS Blog on  FacebookTwitterPinterest, or Instagram for the latest updates, articles, and more!

Monday, November 24, 2014

Espresso Yourself - Part 1

And now for a post that's not about running!

Not that there's anything wrong with talking about running. I like it, of course. However...this mustang has temporarily been put out to pasture. I've had my first "real" running injury - a minor stress fracture in my left ankle. Luckily due to the minor nature of it (did I mention that already), there's no boot for me and I only have to take a break from running for 2-3 weeks. More on that later...

Now I have more time for blogging!


So what else is new?


Here in TN, it is unseasonably cold. Not crisp, cool fall. We're talking 20 degrees and snow.

This isn't supposed to happen until January!

Surprisingly, Carly seems to like it.


And now it's time for my coping mechanisms for cold - sweaters, SCARVES, boots, COFFEE, my cozy living room with blankets and candles...And let's not forget the best part - fall foods! Seriously, the foods during fall are fantastic - soups, pumpkin, butternut squash, apple, salted caramel, maple, cinnamon...I could go all day.

But did I mention coffee?

It's the perfect time to share a post I'd hoped to share in January (last January, I know). Last Christmas, I received an espresso maker.

How did I ever live without it?

Seriously, I use it almost every day now. I enjoy an Americano as my weekday cup, and I make my own lattes on the weekends.

I didn't even know what an Americano was a year ago.

At first, however, my espresso machine was overwhelming to learn to use.

It certainly isn't a Keurig.

Which leads me to Part 1 of a three part series: Espresso Yourself (for espresso newbies).

In Part 1, I'll share the tools I used to get started (get your holiday wish list ready!)

In Part 2, I'll share my beginner's guide to making espresso AND my recipe for Pumpkin Spice Lattes. The hash tag PSL! Hopefully I'll get the post out before December when you've moved onto peppermint mocha. ;)

Now I that I have your attention...


What Espresso Is


If you're a coffee expert or barista - you probably know more than me.

I'm no barista. When I started researching espresso and espresso machines, it was daunting. I didn't know what made espresso, well, espresso. I didn't know the difference between cappuccinos and lattes. If I found this espresso world intimidating at first, I couldn't be the only one out there. If this sounds like you, keep reading.

According to Miriam-Webster, the definition of espresso is "strong coffee that is made by forcing steam through finely ground roasted coffee beans". Instead of hot water dripping through coffee grounds like the automatic drip machines most of us use, espresso machines force very hot (boiling) water through the coffee grounds using pressure through a metal filter, resulting in a stronger, thicker, more concentrated type of coffee. In order to do this, you need an espresso machine.

The Machine

The most daunting part of espresso might be choosing a machine. Seriously.

Semi-automatic? Automatic? Steam? Pump? It has how many bars? You mean bars like a cell phone signal?

I think a better name for "barista" would be "espresso engineer".

The price points range from under $100 to hundreds (even thousands) of dollars. I did a lot of online research and read a ton of reviews. There are experts who will do a much better job than I could explaining manual, semi-automatic, and automatic machines (try this article), so instead of trying to recreate the wheel, I'll tell you where I landed.

To stay in a manageable price range and give myself a chance to learn how to make espresso, I decided I wanted an entry-level semi-automatic machine. This means I have to fill the portafilter with already ground espresso, tamp it myself (pack it tightly using a tool), flip a switch to start pushing water through the portafilter, and flip the switch off when my espresso cup is full (it doesn't know when to stop to make the right portion). I also wanted a machine that uses a pump for pressure instead of steam (which some lower price point espresso machines use and is less powerful).

See how technical I am? If the "espresso engineers" didn't stop reading before, surely they have now.

At the time (about a year ago), I ran into an article similar to this that listed top espresso machines for beginners. Based on this information as well as online reviews, I landed on the De'Longhi 15 bar pump espresso maker. It's around $100 (for reals!) and it has the features and power for a beginner like me to get started. It even includes a milk steamer, so I can turn my espresso into a latte! Yes - it's entry-level. I'm sure experts would scoff at it, but it's great for a beginner. Maybe one day I'll upgrade.


What You'll Need Besides an Espresso Maker

  • Strong coffee, finely ground - While "espresso" isn't a specific type of coffee bean, there are many brands that have developed special blends of coffee appropriate for espresso. Starbucks Espresso Roast is a good start, as is Trader Joe's Espresso Blend (only sold in stores but learn more here). To learn more than you ever wanted to know about espresso blends, check this out. For espresso, it is important that the coffee is ground fine (see next bullet).
  • Coffee grinder (optional, but not optional) -  If you want that fresh, rich, bold taste in your espresso, it has to be ground fresh. If you're new and want to just get started, you can buy a bag of ground espresso (such as Starbucks Espresso Roast), but it doesn't compare to freshly ground espresso. I had a little Krups blade grinder, but it didn't grind the coffee uniformly and finely enough, so I upgraded to this conical burr model.  It is fantastic - it grinds uniformly to the fineness I want.

  • A metal tamper (optional if your machine has a built in tamper) - I use this metal tamper. It works much better than the plastic one on my machine, and I can do it over the sink, not leaving coffee grounds on the counter. Just do it.

  • Espresso cups - While not the most beautiful, these are 2 oz each and fit well under the portafiler on my machine. From there, you can drink the espresso straight from the cups, or pour into a mug for a cappucino, latte, Americano, etc.

    • However, I saw this GORGEOUS espresso set when I visited C. Wonder (for the first time!) in New York recently, and I may add it to my Christmas wish list...

  • Frothing pitcher - This is important if you plan to steam milk for lattes. I can't find a link to the De'Longhi pitcher I have, but here is something similar. 

  • Vacuum sealed coffee canisters (optional, but helpful) - As a caveat to my earlier point, I totally get that you and I don't have time to grind coffee every morning. I also get that it goes against espresso best practices to grind a supply, as the coffee loses freshness once ground. Argh. My solution - grind a few days worth of espresso and store in these fantastic vacuum sealed containers. I usually grind 4-5 days worth and find it stays fresh.


Once you have the machine, you've overcome half the battle. Get that bad boy out of the box, clean the parts and pieces, and espresso yourself!

Sorry, I had to include that somewhere.

Honestly, just getting the right tools is half the battle!

And hey, it's the holidays, so you could let Santa help you get started. 

These tools will help you get started. In my next post, I'll share how I use these guys to make espressos, americanos, cappuccinos, and of course, lattes.

Do you make espresso at home? What are your favorite tools and gadgets?

-Amy

I was not compensated by any of the above brands for this post, nor are they affiliated with this blog. I am simply sharing my honest opinions and experiences. The views expressed in this article are solely my own.

Want more? Follow the CSRS Blog on  FacebookTwitterPinterest, or Instagram for the latest updates, articles, and more!

Tuesday, June 4, 2013

Iced, Iced Coffee


Before we go any further, I should warn you that I love ridiculous rap songs from the 90's. Actually, I like almost all 90's music. "Ice, Ice Baby" is one of my favorite songs. I'm technically too young to claim it from my era. I was little, but I remember the "cool older kids" listening to it. I saw MC Hammer in concert last year, and I plan to see Tone Loc and Young MC performing together this fall.

This should explain why I make so many lame slang references.

Back to the topic at hand, it's getting warm outside! Here in Tennessee, we have finally hit the 90 degree mark for the first time since September! As you know, I'm addicted to coffee. Does the heat slow my addiction down? NO! I just have to turn to another format of my drug of choice - iced coffee.

Now, even though I'm a coffee lover, I don't get into super complicated methods. I like strong blends of coffee, and I like quality. However, 90% of the time, I use a Keurig (I know, I'm not eligible to call myself a coffee snob) to make my coffee.

In the mornings, I'm frantically running around to get out the door on time. I'm curling my hair while applying makeup. Then I spend unnecessary time tending the burned place on my head and getting mascara off my cheek. I'll usually resort to wearing anything that doesn't need ironing, but struggle to find shoes to match. While I have 5 minutes left before I have to leave, I'll start my coffee brewing in the K-cup, feed the cats, and grab something quick (a Larabar, yogurt, and/or fruit, or a smoothie on a good day) to take with me while it's brewing. Wait, where are the cats? Oops, one trapped herself in the closet. Add rescuing cat to the agenda. Finally, cats rescued, coffee brewed, and out the door!

It's stressful just thinking about it. So no, I don't have time for a complicated coffee method. My husband doesn't drink coffee at all, so I only need to make a cup at a time. I do, however, use my reusable filter in my Keurig and buy bags of a good, bold coffee. I usually get a blend by Starbucks or a gourmet blend at Fresh Market or wherever. As long as it's strong and good quality, I don't care. I have a French press and coffee grinder, which I use every now and then. It just takes too long.

The problem is I haven't had much success in the iced coffee area. I've tried making it hot and adding ice, which waters it down and alters the taste. I've even tried the premade cartons of iced coffee, which are WAY too creamy and sweet for my taste, almost like chocolate milk with a little coffee mixed in.

Since summer is just about to start, I need a solution. This weekend, I decided to test out a couple of methods to enjoy better iced coffee after spending time in the heat running, gardening, and shopping.

Quick Fix: Coffee Ice Cubes


It seems logical that to have iced coffee that isn't watered down, I could use freeze coffee into ice cubes instead of water. So Saturday afternoon, I made an 8 oz. cup of coffee (I happened to have a bag of Starbucks Caffe Verona - a dark blend), and poured it into an ice cube tray.


After about an hour, it was more or less set up.

I placed about 5 ice cubes into my to-go cup, and brewed another 8 oz. coffee into it.


The 5 ice cubes didn't do the trick to cool the coffee. I didn't want to deplete all of my coffee ice cubes, so I used a few regular ice cubes.


You could use whatever cream and sweetener you prefer. I've been using Coffeemate's Natural Bliss. It probably isn't great for you, but doesn't have quite so many chemicals.


The result? Not bad. Not as watered down as using only ice cubes from water. Not a bad method to use if you really want iced coffee and you're in a time pinch. Not coffee shop blow-you-away amazing, though.

Make Ahead: Cold Brew Coffee


Since the first method was "just okay", I scoured the interwebs for a better solution to perfect my Funky Cold Barista skills (I warned you). And wouldn't you know it, I found a solution on the Pioneer Woman's blog. I don't get a lot of time to watch TV, but I love catching a few minutes of Food Network from time to time. Ree Drummond is so down-to-earth (reminds me of families I knew growing up in Wyoming), and her food always looks amazing!

You can find her well-informed, detailed article here.

She uses a cold brew method to create a cold coffee concentrate that you can keep in the fridge in a pitcher. Now as you know, I don't do complicated methods, so I was skeptical. It turns out this method isn't complicated and doesn't require sophisticated equipment at all.

You can find a pitcher especially made for this purpose. This one is reasonable in price and I'm thinking about getting it. However, this weekend I didn't have the pitcher, and just wanted to try it before purchasing anything. Using the Pioneer Woman's instructions, I pieced this unsophisticated contraption together. Since I'm the only coffee drinker around here, I scaled the recipe WAY down.

All I used were:
  • 1 cup ground coffee (ideally a bold blend - I used the Verona again)
  • 5 cups water (many websites recommend a 3:1 ratio of water to coffee to make a concentrate. When pouring a glass of iced coffee, you have to add extra water to the glass.  I wanted coffee that was strong but ready to go without having to add water, so I tried a 5:1 ratio. You can experiment to find what works for you.)
  • Large container
  • 2 coffee filters (a cheesecloth or possibly even paper towels could work)
  • Strainer/colander
  • Pitcher
The evening before I wanted to enjoy iced coffee, I combined the coffee and the water together in one big container.


I gave it a little stir, and popped it in the fridge overnight.


The next morning...


About 20 minutes before I was ready to enjoy the iced coffee, I got out the water/coffee mixture.


I got my pitcher ready. My colander was WAY too big for the job, so I found this old hand-me-down tool. I'm not sure what it's called. Perhaps an antiquated strainer of some sort? Whatever it is, it fit just right over the pitcher.


I placed two coffee filters inside the strainer.


Now it was time to gently and carefully pour the water/coffee mixture into the strainer, and let the mixture flow through the filter. It took about 15 minutes to slowly make its way into the pitcher.


Coco isn't supposed to be on the counter, but as the reigning queen of the house, she had to inspect what was going on.


15 minutes later...


The coffee in the pitcher was ready to pour into my to-go cup! Since it's already cold, it doesn't need much ice. I put about 3-4 cubes into my to-go cup, and filled with coffee.


Again, I flavored it up with CoffeeMate Natural Bliss. Probably a tablespoon or two. I didn't measure.


The result? I liked it! It was bold, fresh, and flavorful! Thank you, Pioneer Woman, for changing my life!

If it's too strong/not strong enough, try different coffee/water ratios to suit your taste.

It was easy to do, and now I have half a pitcher of iced coffee to use through the week. All I have to do now is pour and go! Now that I know I like this method, I think I'll make a double batch next weekend to fill my pitcher. As long as it's contained in the fridge, it should last at least 2-3 weeks (according to the Pioneer Woman). I may look into buying the cold brew pitcher now.

If there was a problem, yo I solved it...

Now to relax on the front porch with Real Simple or a book!


Do you enjoy and make iced coffee? What methods have you tried? What worked best for you?

-Amy

Want more? Follow the CSRS Blog on FacebookTwitterPinterestGoogle+, or CoffeeScarvesandRunningShoes on Instragram for the latest updates, articles, and more!